How do I make my image have consistent borders?
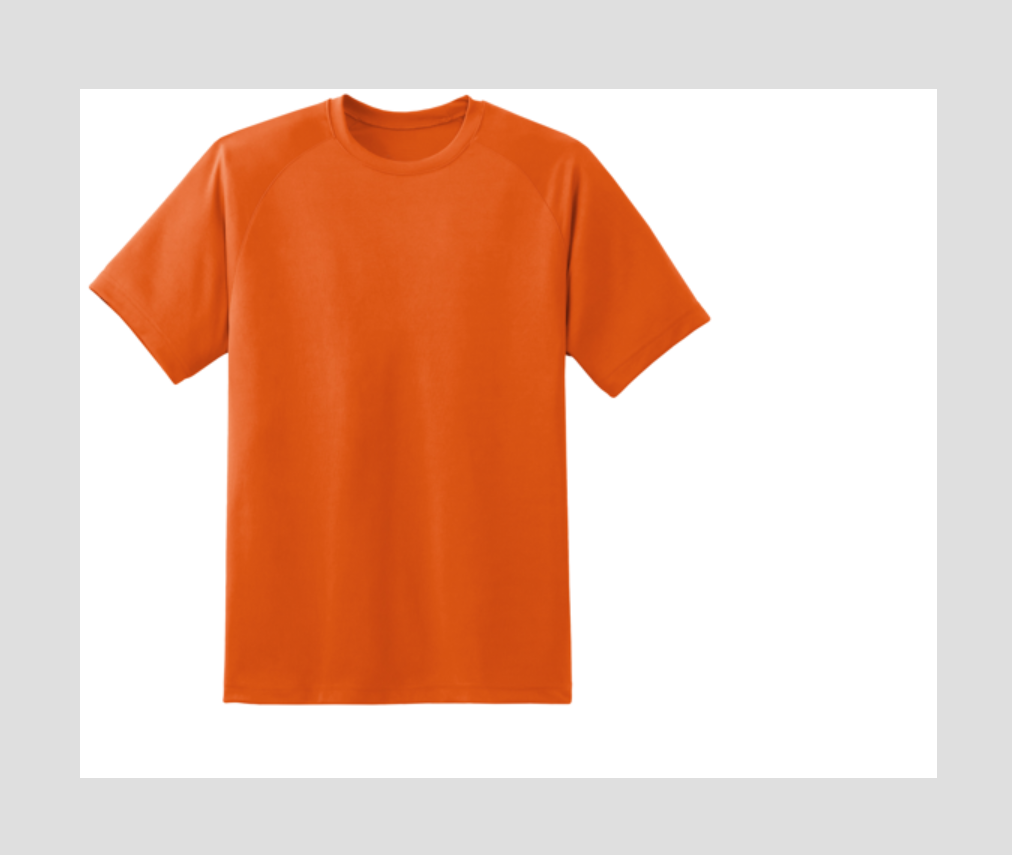
If you have images with inconsistent margins, you can use our app to standardize them. For example, we can use the following steps on the image below, so that it can have consistent and centered margins.
Please note that the following method will only work on images with a single solid color background
Step 1: Trim the image
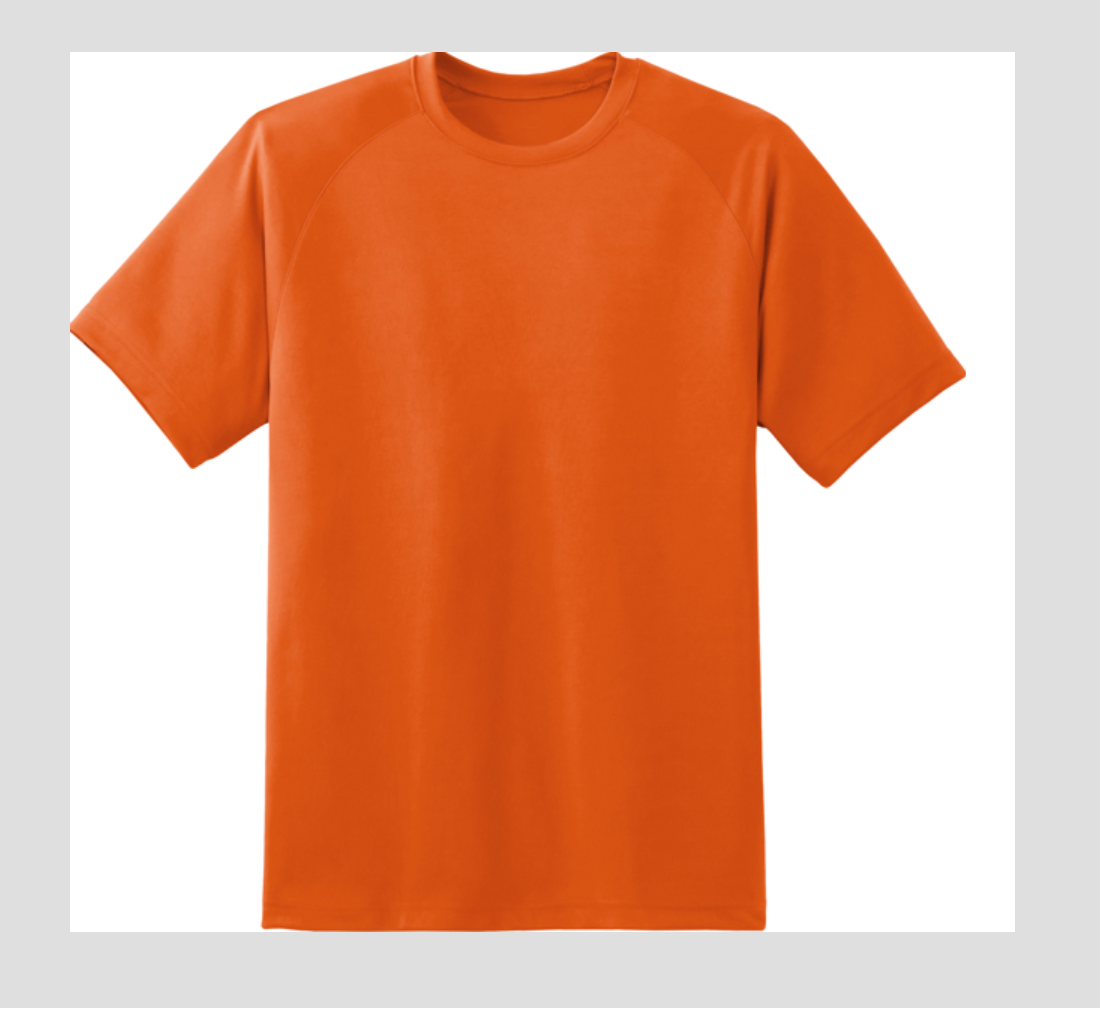
The first step would be to trim the image down. You can do this by using the Trim function in our app, and you can find a tutorial for that function here.
The trim function works by trimming any excess margins from the image. After trimming our image, it looks like this:
Step 2: Create the new margins
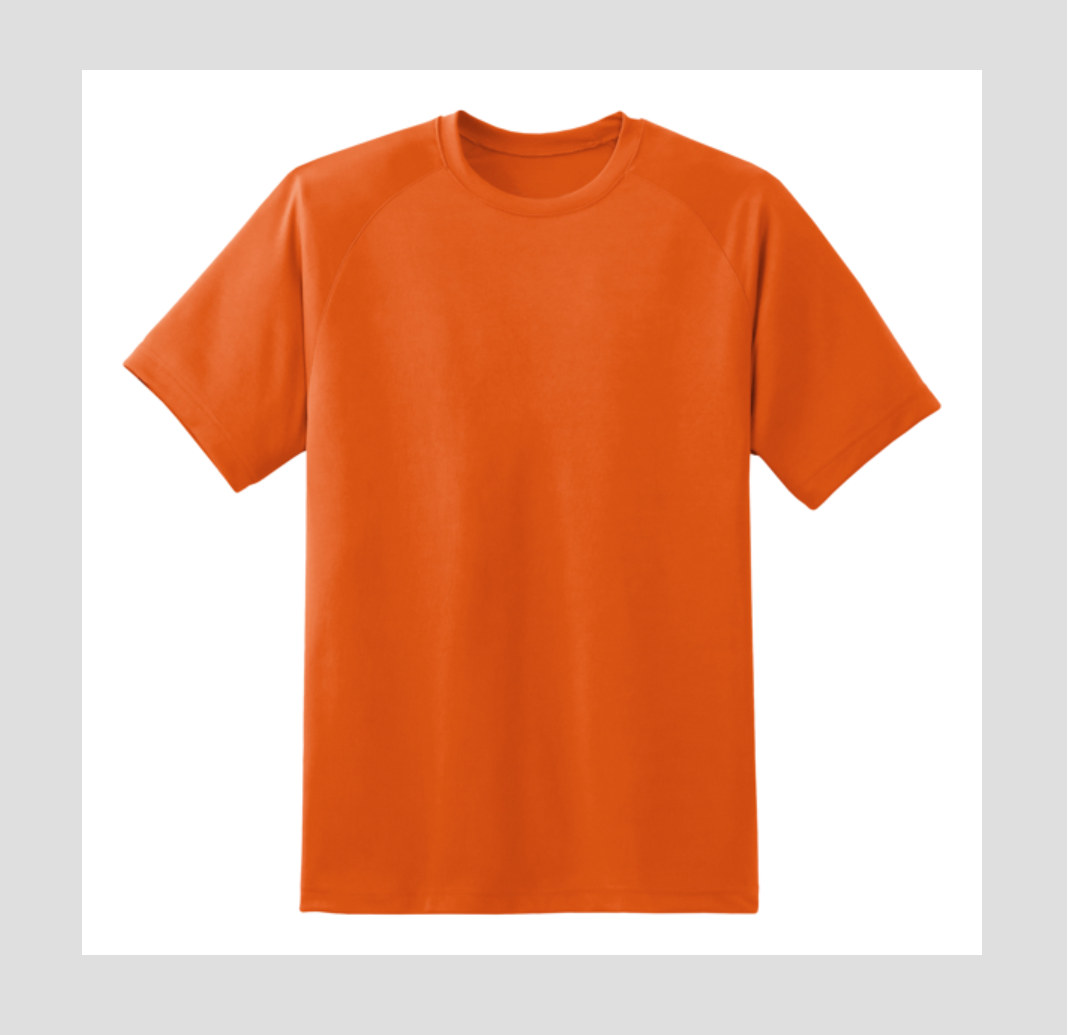
The next step would be to create the new margins for the image. You can do this with the "Frame" function in our app, which creates even margins on all 4 sides of the image. You can find a tutorial for this function here.
In this case, we will be adding a border equal to 10% of the image size, using the following task configuration:

After framing, the image looks like this:
Optional Step: Resize the image to the desired aspect ratio
If you need the image to be in a certain aspect ratio after creating the margins, you can do so with the resize function. You can find a video tutorial for this function here
For example, if I need the image to be in a 2:3 ratio, I can use the following configuration:

After the task finishes, the image looks like this:

Now your images should have consistent margins, in the correct aspect ratio. If you have any questions, please feel free to contact us at help@hextom.com anytime.