How to use Add Watermark feature? •
Adding a watermark helps protect your product images from unauthorized use by displaying your brand’s name, logo, or custom mark directly on your photos. With our app, you can add text‑based or image‑based watermarks and customize their style, position, and visibility quickly and in bulk.
There are two watermark features available in our Bulk Image Edit app:
- Text-based watermark – Add custom text with settings for font, size, color, position, and opacity.
- Image-based watermark – Upload your own logo or image file (PNG with transparency recommended), then set size, position, and opacity.
Steps to configure before adding watermark:
-
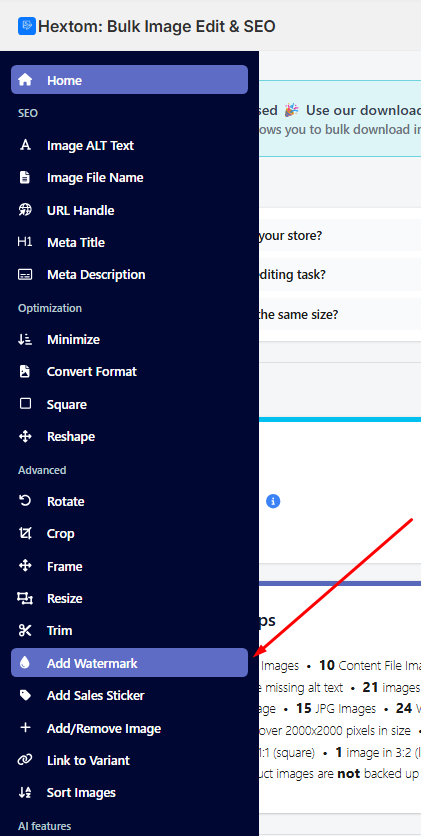
Select the Add Watermark tool on our app:
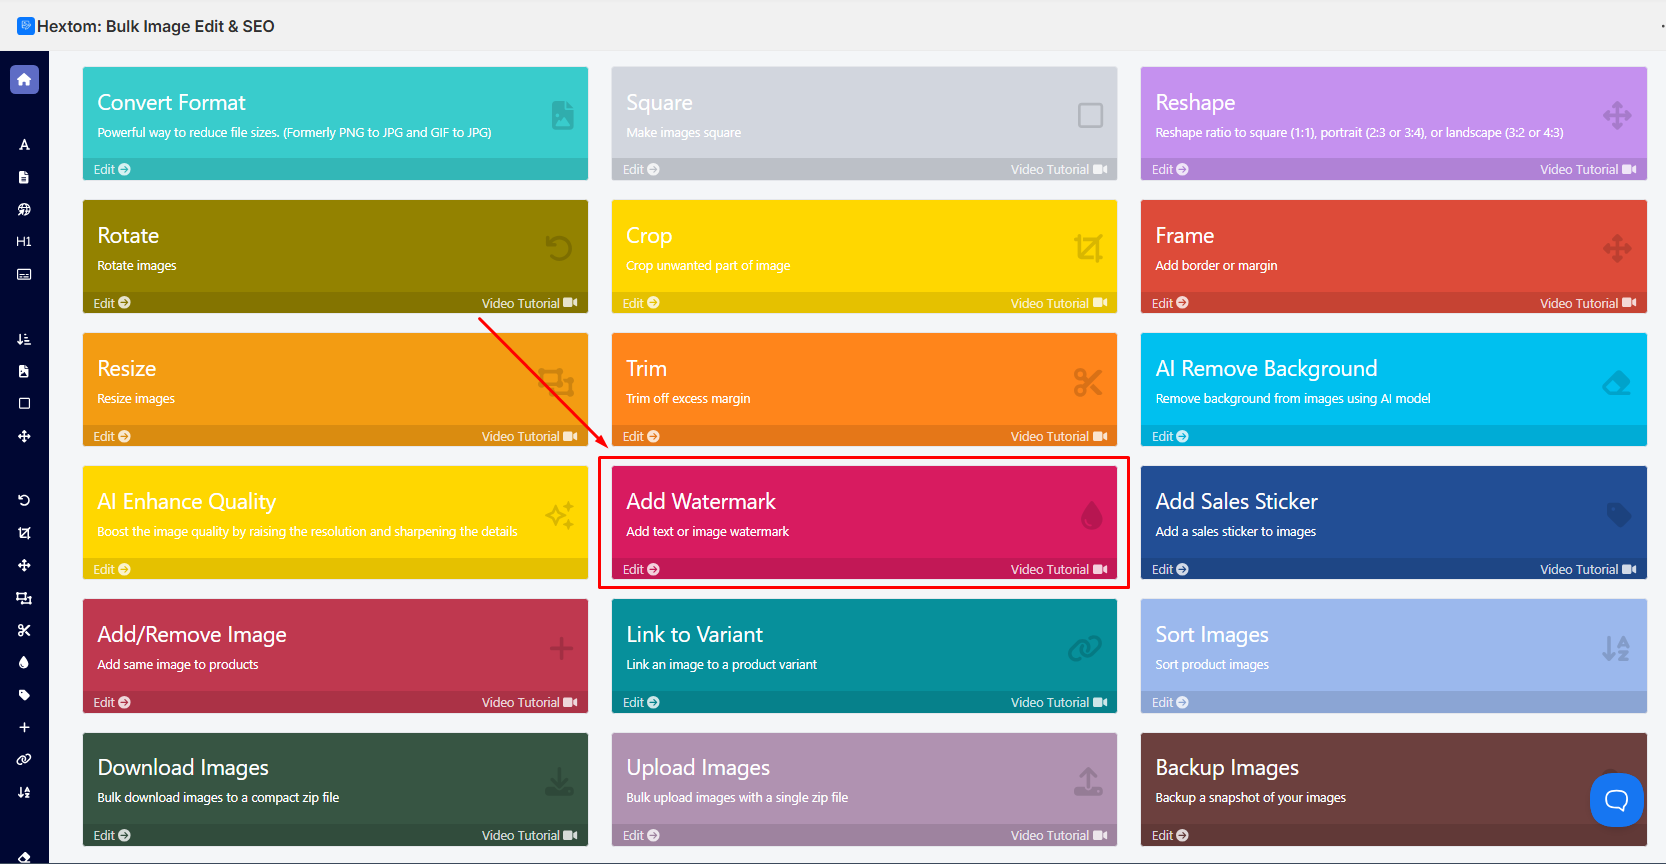
You may also click it from the left menu under Advanced section.
-
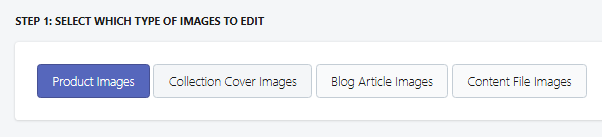
Select which type of images you wish to edit. We'll use Product Images on this example.
-
Then choose which condition filter is appropriate to the products you want to add watermark with. We'll use the all products option in this example.

-
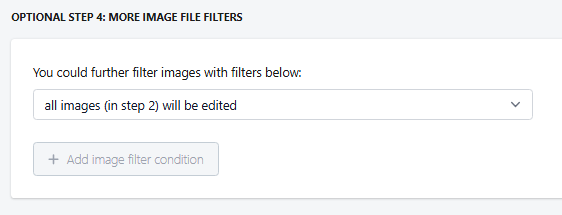
In the optional step of the app, you can use an additional filter if needed to target specific images.


Text-based watermark settings and configurations:
When creating a text-based watermark, you’ll see several options that let you control how the watermark appears on your images. These settings help you customize the text, style, placement, and visibility to match your branding needs.
- Text in Watermark – Enter the text that will appear on the image, such as your store name or website.
- Font – Select the font style used for the watermark text.
- Font Size – Adjust how large or small the watermark text appears.
- Position – Choose where the watermark will be placed on the image.
- Color – Set the color of the watermark text.
- Opacity – Control how transparent or visible the watermark is.
-
Edge Padding – Adjust the distance between the watermark and the edges of the image.

Below the configuration settings, there will be a preview showing how the watermark will appear on your images.

After the task has finished, this will be the result:

Tips:
- Opacity 0 makes the watermark fully transparent. We recommend setting it above 0.2.
- Font size scales with image size, so watermarks stay consistent across different images.
-
Not sure about bulk editing? Preview and test the watermark on a single image first in Step 2 by selecting Individual Images for Editing.


Image-based watermark settings and configurations:
When using an image‑based watermark, you will see options that help you upload and customize how your watermark image appears on your photos. Some settings are similar to text‑based watermarks, such as position, opacity, and edge padding, giving you control over where and how the watermark displays. Using a PNG (with a transparent background) is recommended for best results.
- Upload Watermark Picture – Upload your logo or watermark image file (PNG with transparency is preferred).
- Position – Choose where the watermark will be placed on the image.
- Watermark Size – Adjust how large the watermark appears on the image.
- Opacity – Control how transparent or visible the watermark is.
-
Edge Padding – Add space between the watermark and the edges of the image for cleaner placement.

Same as the text-based watermark, there will be a preview showing how the watermark will appear on your images below the configuration settings.

After the task has finished, this will be the result:

Tips:
- Watermark size scales with the image. Squared or wide watermarks follow the image width; taller watermarks follow the image height.
- For best results, use a transparent PNG as your watermark.
If you need assistance, please email us at help@hextom.com and we'd be happy to help!